
There were two walls, a "decorative" CMU wall, which we removed as one piece with the crane on the dump, and the one that failed which was supposed to be a retaining wall for the stairs to the basement.

The failed wall after half removed. No reinforcement and all block cores are empty.

View of the failed wall from the basement.

The last section of the old wall, note the lack of a footing.

Before pouring the footing I drilled the footing of the house so I could tie into it with some rebar.
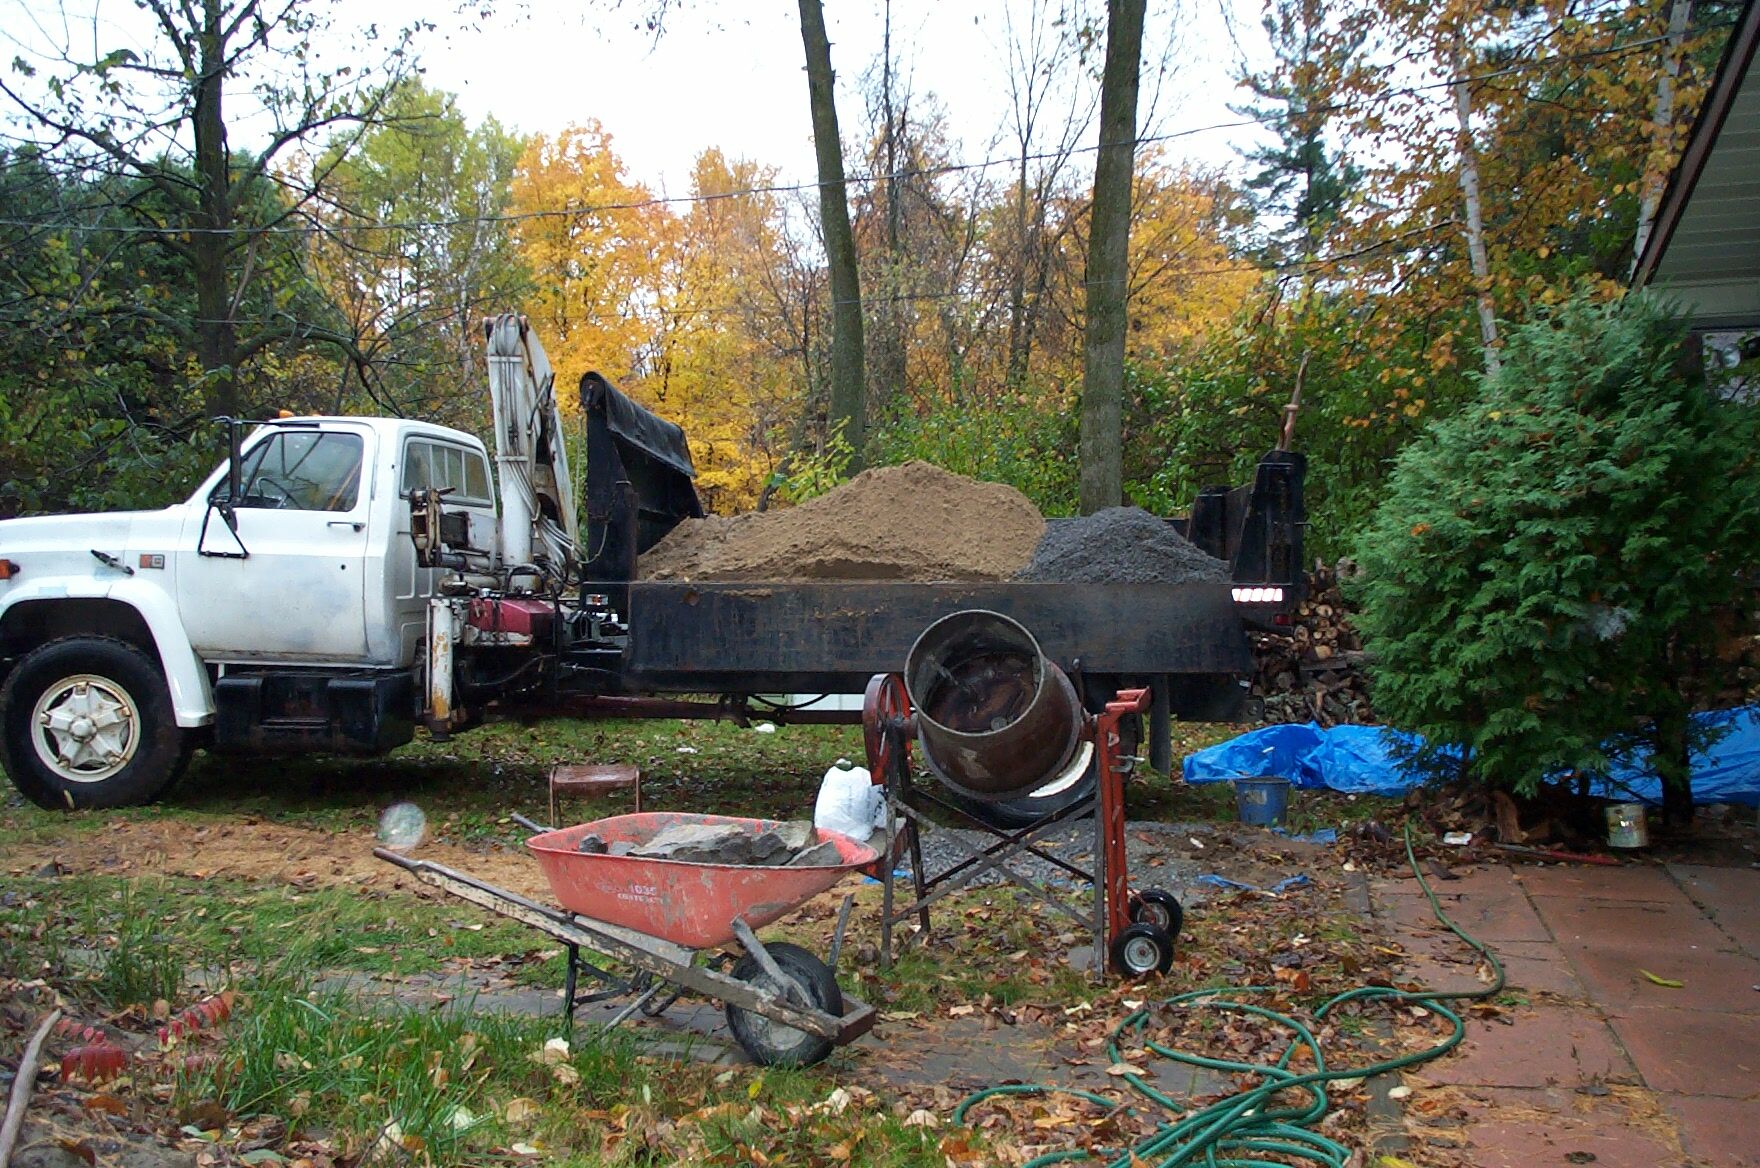
Getting ready to pour the first part of the wall, I got a ton each of concrete sand and GA stone (1/2" minus), my dad shovelled it right from the truck into the mixer. We used a 1-3-3 mix for the concrete.

The first slip form in place. Vertical rebar was placed in footing when wet.

I added the stone up against the form, then poured the concrete over and in-between, I tried to keep the concrete about 1" back from the front of the stone/form. I would suggest 2" to 3" if you wish to point with mortar afterwards. Live and learn. I made the wall about 18" thick for the first 2 feet and about 11" thick for the remaining 4.5 feet.
Something not covered in the book, with the concrete in place it may be hard to see the joints in the stones below, I put some screws in place of the joints before covering the stone with concrete. That way I could (well try) to avoid vertical joints in the stones. The screws were moved for each layer of stone.

All the stone in place and concrete poured, blankets on top to keep the concrete warm. We did the first 2' on Sunday, the next on Monday, and the last on Tuesday. I removed the forms on Saturday. Temperatures were around 5-6 C during the day. In warmer weather you could remove the forms sooner.

Aaaa! The forms removed. Well that's not what I wanted. A few hours of chipping later...

I chipped away the concrete with a brick hammer and cleaned up with a wire brush.

Picture with the stone wet.
